I recently explained to my friend Jaime that I wasn’t actually crafty, that I was a copier. When I want to tackle a DIY project, I usually scour Pinterest for as many tutorials as possible that will guide me through what to buy, how to assemble and what I should expect. I then take it upon myself to get impatient and rush the process, usually making as many mistakes as possible in a 10 minute window. The baby’s DIY Mobile is no exception. At one point in this process, Mark told me the mobile was looking uuuummmm not great and he would be happy to help me finish it. Nice.
I found this mobile super early on in the nursery design process and used it as a jumping point for my image board for the room. I showed it to my friend Ashley and she told me that I for sure could make that…especially when I told her that the mobile was $65 and an additional $20 to customize the colors. Hmmm….could I?
Off to Hobby Lobby I went to see what it might take to get materials in hand….
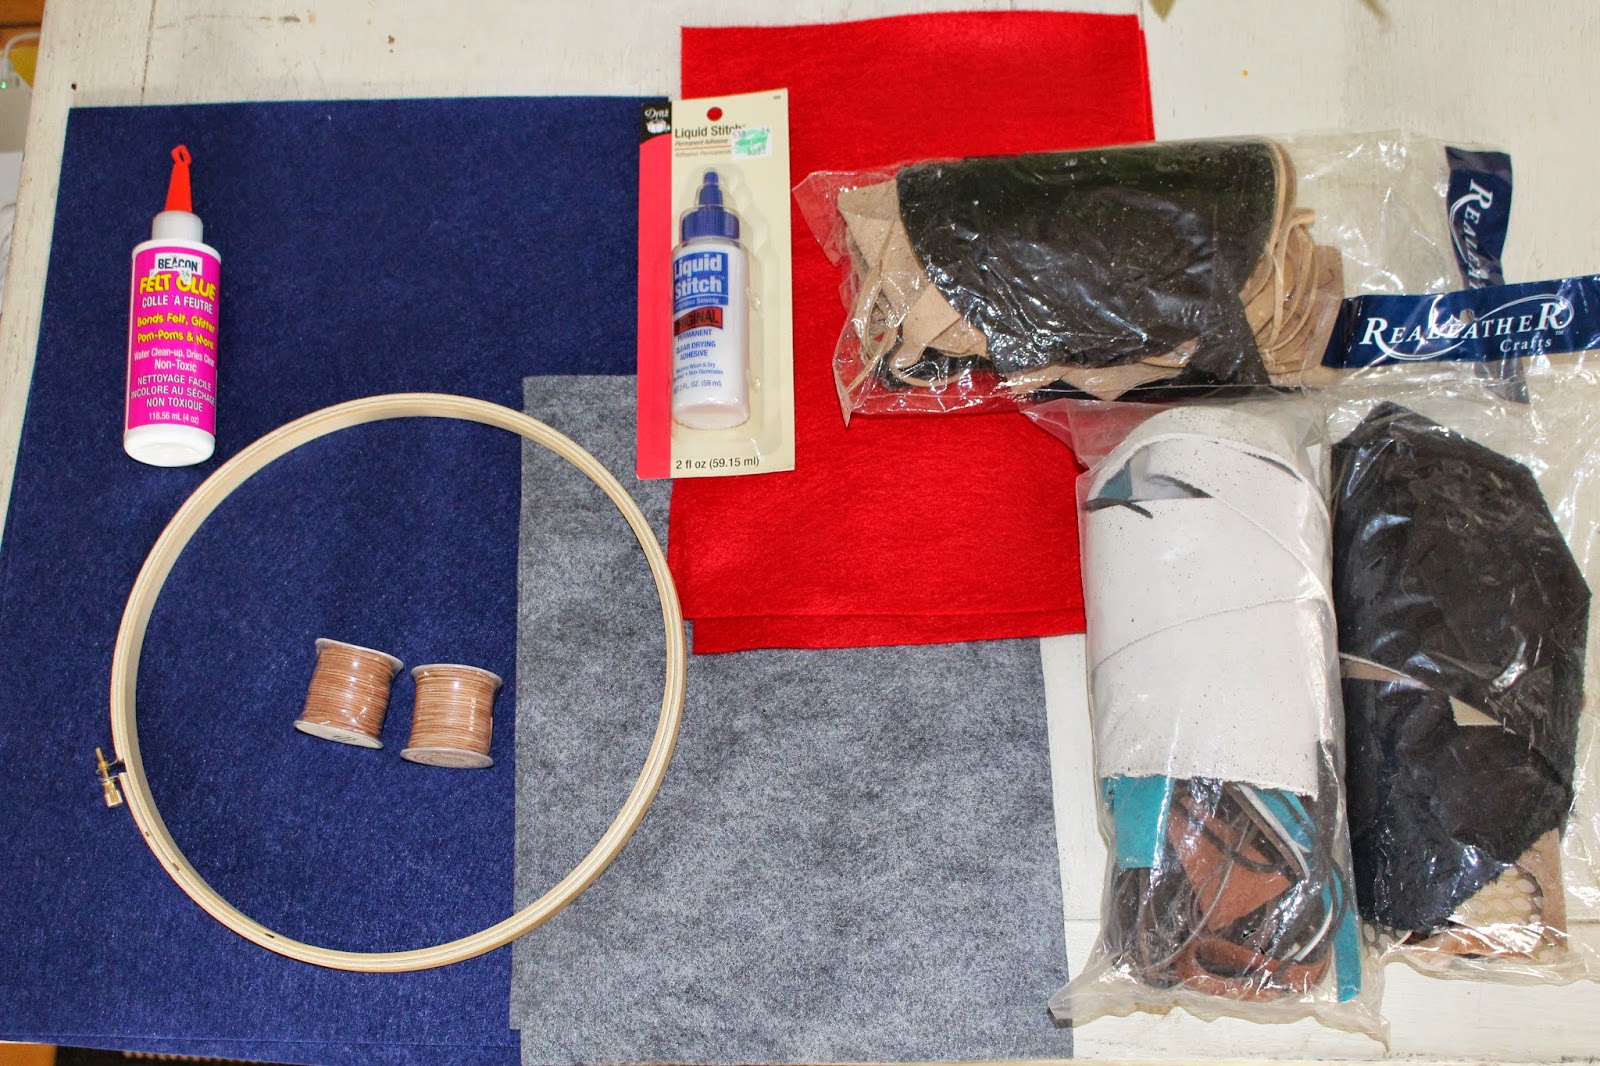
Here’s what I ended up purchasing:
Scrap packs of leather
(who knew?? these can be found for $3 in the jewelry making section)
Leather twine
(also in the jewelry making section)
Small sheets of felt in my accent colors of choice
Felt Glue
(probably a waste of money)
Liquid Stitch
(not a waste of money)
Embroidery hoop with the outside hoop containing the hardware removed
With Hobby Lobby sales and coupons, I spent about $20 on the entire project
Overall, I clearly over purchased on the leather scrap bags, but because they only contain scraps you can’t really be sure what you might get in there….and mostly, I got excited and just bought them all.
Method:
This really couldn’t be easier, it just takes patience
Make a template for your triangles
Get to cutting
I decided to hang 6 strings from the mobile, each with 7 triangles
Each triangle should really be double sided so that it looks great when it’s hung.
I was tired of cutting and tried to make them one sided but the men in my house came to the rescue and cut the rest of the triangles for me.
It’s up to you if you want the two sides of each triangle to be of the same fabric. Most of mine are but some aren’t and I ended up liking the visual interest
Lay your triangles out in the pattern that you like
Dap Liquid Stitch on each triangle in one strand
Lay the leather cord through the glue (you may need to use something with a little weight to hold the cord down until it sets)
Repeat with all of the strands
Next glue the remainder of the triangles on to make the two sided triangles
You may need to trim some of the two sided triangles so that they are exactly the same size
Once all of the strands are dry, it’s time to tie them to the hoop
(Bud Light for the man helpers)
In order to make the hanging piece of the hoop, take two long pieces of the leather cord and lay them out in a cross under the hoop.
wrap the 4 ends on the hoop and then bring them together above the hoop.
I tied all four ends into a knot and that was that. Just make sure you have even cuts of cord so that the hoop hangs level.
To attach the triangle strands, just space them evenly around the hoop and tie them on!
I left the ends long because I was going for “rustic” not perfect.
I love the way it looks!
I can’t wait for it to be hung over the baby’s crib!
P.S. Don’t forget the Blog Birthday Giveaway!
Just one more day to enter!


I think this turned out really cute!! I got my metal ring from the leather/jewelry section too. Who knew!
This is so cute and perfect for a little boy's nursery! Looks like you're making good progress, can't wait to see all of it come together! (P.S. I'm a copier too! I wish I could come up with cute projects like this on my own!)
pssh no apology needed you are a DIY diva! i love your projects! this one turned out so cute! xo jillian – cornflake dreams
You did an awesome job!! Looks great!
Super cute Steph!