


I have the itch to redecorate. It’s getting so bad that I’m beginning to think that maybe we should renovate again…or add on to our current house….which is just plain craziness. Honestly, I think the One Room Challenge is to blame. The new round of the six week design challenge started today and I am not among the guest bloggers participating for the first time in three challenges. Our current spaces are all happily serving their intended purposes and after doing our living room last May (and our guest room the previous November), I just don’t have a space to tackle. And I am having major FOMO (fear of missing out). So many of my friends are participating and I am missing the fast paced, disaster prone, six week design fest much more than I thought I would.
In fact, many of my friends in the blogging world (and some in the design world!) have reached out to me over the past few weeks asking for my best advice and tips on how to successfully tackle their first ORC. It’s no secret that the six weeks can drive major traffic to blogs with both large and small followings and has been known to launch a few major brands. In May, I successfully partnered with my friend and designer, Amanda Louise Interiors, to launch her blog with the One Room Challenge. She was able to gain traction in the design blogging world, develop a new community online and introduce many, many new followers to her work. Participating in the One Room Challenge is, without a doubt, a unique way to dip you toes into the design blogging world (if that’s not your typical niche) and to show off your style to an entirely new audience. But here’s the catch: the six week time frame has been known to sink the best of us, so you’re going to need a few tips to make it through. Here are mine!
5 Tips To Survive The One Room Challenge
1. Plan Plan Plan
The six week timeline has been known to bring even the most seasoned designer to his or her knees. Be very thoughtful in the weeks prior to Week 1 of your general design plan and what needs to happen when. For example, are you going to have both electrical and paint work done to your space before you can even begin the design and styling process (we did in my living room thanks to moving our giant TV)? Start making those appointments well before Week 1 or you may find yourself unable to secure vendors, stuck with back orders or behind the eight ball before the challenge even kicks off.
2. Before Photos
Take before photos from as many angles as you can before you begin the process. You won’t use them all in your Week 1 post but you never know what angle you’ll want to have for the After post. I always manage to undershoot the Before space and am unable to provide side by side comparisons of the space once it’s complete. My kitchen renovation once ran on TODAY.com and there were many (many) comments about how hard it was to find your bearings and compare the changes because the photos did not seem to line up. Nothing draws in readers like a great Before and After shot – and you know you’ll photograph the heck out of the finished space – so don’t skimp on the Befores!
3. Be Flexible
Considering the time restraints, it will serve you well to prepare for elements of the design to change or flux due to circumstances outside of your control. Your dream rug could be back ordered, the DIY you planned to save money could be a flop, your perfect paint color could turn on you, the possibilities are endless when it comes to renovations. Typically, the inconveniences and glitches are just part of the design ballgame but with the ORC time frame you’ll most likely need to move to Plan B at least once in the process. Don’t let it get you down – and don’t forget to share it with your readers! I usually have at least one Fail post during the ORC and all of us can relate to the project gone wrong.
4. Linking It Up
When linking up on the Calling It Home/ORC website on Thursday be sure to keep a few things in mind:
Readers will click on your link based on your thumbnail image and tag line alone. There will literally be hundreds of blog posts linked each week and, ideally, tons of new readers will find your blog through the link up thumbnails. In order to make your thumbnail stand out, make sure that your image is a killer shot (with no text!).
When using the Link Up tool, your thumbnail will automatically default to the first image on your blog post and will automatically crop – be sure to give it a good look before you hit submit. You can change out the image to any other image within your post and you can re-cop any images – I typically at least re-crop my image in the Link Up system to maximize the impact of my photo.
Also keep in mind that you need a caption that stands out! Most people will rely on something that feels safe like “ORC Week 2”, which is both boring and fails to identify your blog/brand. Think outside of the box and grab people’s attention with something fun like “The Week Of Crazy Color | Olive and Tate”.
5. Community Impact
Finally, there is no community like the ORC community. It is encouraged to visit as many of your fellow participants as you can each week. I typically spend Sunday afternoon bouncing around, admiring design plans, marveling at Before shots and getting to know new faces. I’ve made many friends through ORC and have strengthened friendships with both makers/artisans and bloggers throughout the process. The ORC is, without a doubt, a time commitment, but it will also provide you a community full of support – it’s up to your to engage and make the most of it!
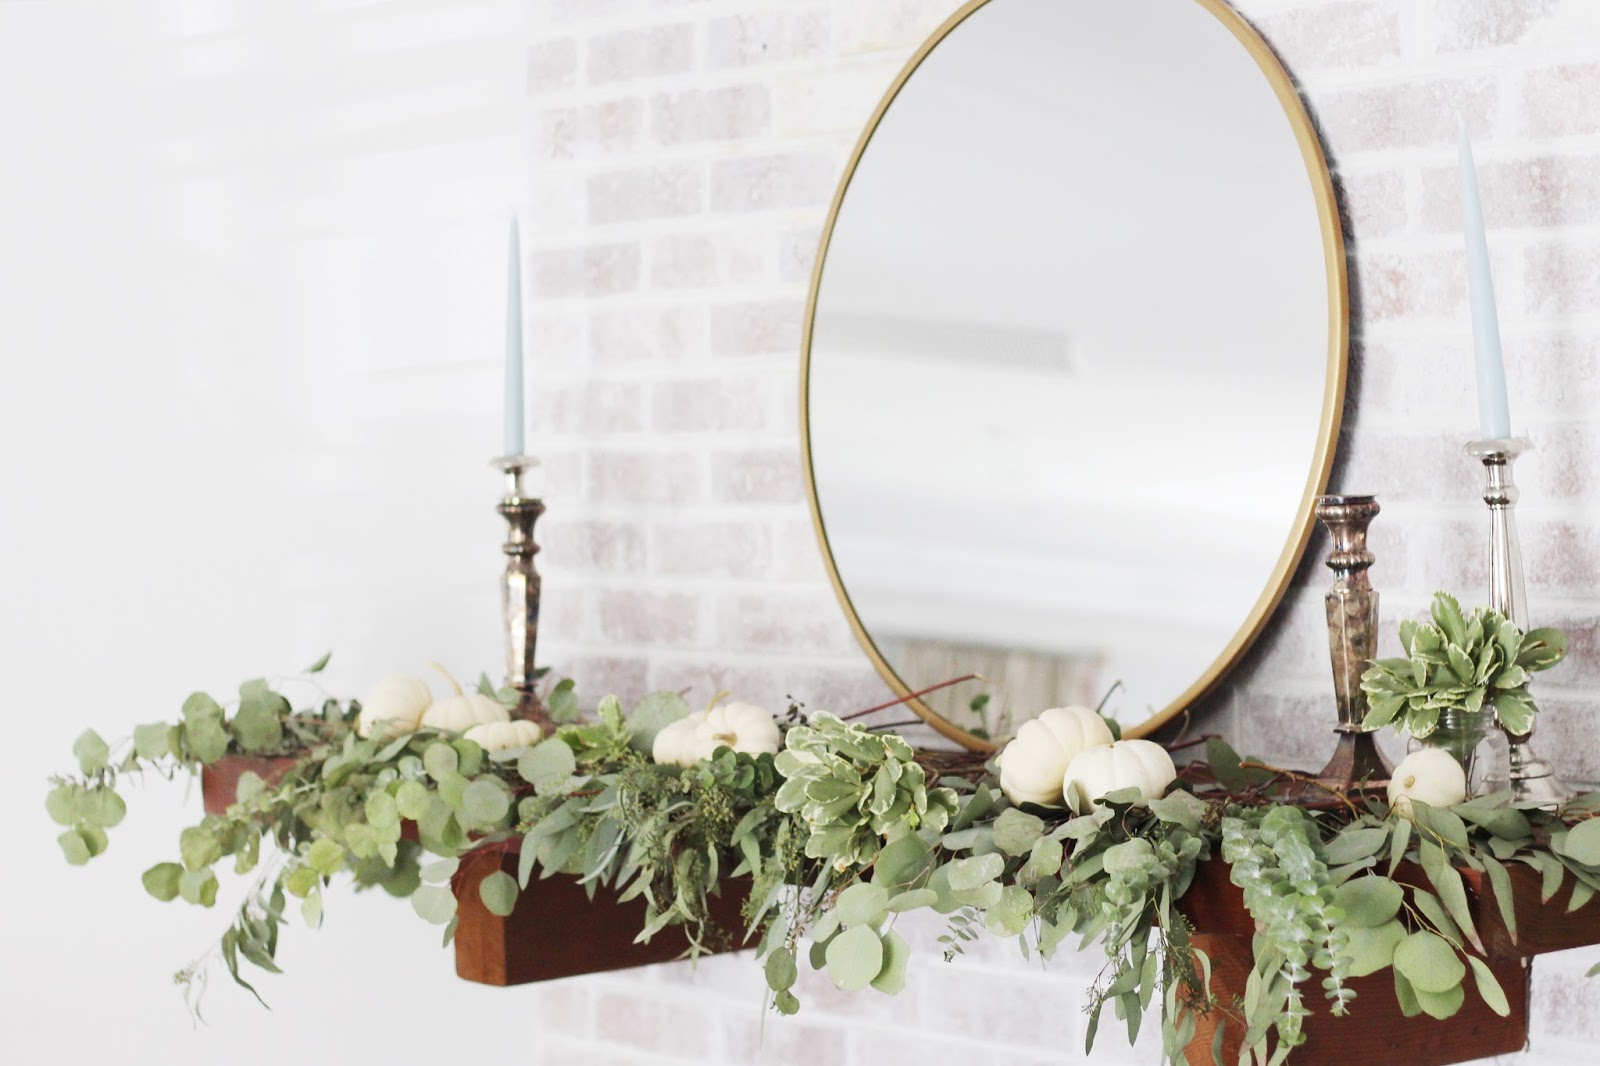
And, because I just had to do a little Before and After of my own, I decided to give my mantle a Fall Makeover. I typically only decorate seasonally for Christmas so I was starting from scratch in the Fall/Thanksgiving decor department. I pulled this mantle together for $60 – including a new mirror – by using items I had stashed around my home and a huge helping of fresh Eucalyptus from Trader Joe’s (at $3 a bunch, you can’t go wrong).
My mantle design was inspired by Elise of Her Heart and Home, a good friend and fellow One Room Challenge addict. She’s demoing a peach tile bath for this round so go follow her – I know the transformation will be unreal.
Before:

This photo is over a year old and the mantle looked exactly the same – yikes, this was an overdue update.
After:

| chandelier | chairs |

| candlesticks | mirror |
It
couldn’t be easier to re-create this mantle. I followed Elise’s advice
and layered 5 bunches of eucalyptus across my mantle (stem by stem to
ensure a bit of symmetry), grouped white pumpkins, tall silver
candlesticks and small mason jars of greenery throughout. Easy as pie.
The mirror is an insane Target purchase and will be staying permanently
above that mantle. I would love to hang it as our powder bath vanity
mirror but it’s just the tiniest bit too wide – so someone please use it
in a bath and send me a pic!
Good luck to all of the ORC participants! I’m anxiously awaiting reveal day!
Like it? Pin it!

Where is the mirror from?
I'm the worlds biggest failure at before pictures. And then every time I'm like whyyy did I not take good before photos?!!?
Now I have ORC FOMO! Except my problem is I have no rooms to redo (well actually that is a total lie) but I have like zero space. Next time, next time I shall participate!
great tips! eventually I need to participate! xo jillian – cornflake dreams
1 – I love you.
2 – But where did the art go? I love the art too!
3 – Laughing because that mirror is currently (in my head) what's going to be the new mirror above the sink for this ORC. #whossurprised #notme
Your mantle is freaking gorgeous … I love it! And love these tips!!